So today I am going to show you how to refashion a long-sleeve t-shirt and turn it into something amazingly cute for yourself! A sleeveless v-neck with ruffles! There will be LOTS of pics, so don't fret. You can do this. The sewing is very simple! You don't have to have any crazy sewing attachments or anything special. With that said, let's get our sew on!
Materials:
Sewing machine
Coordinating thread
Pins
Sharp scissors (don't EVEN try to use those dull scissors you've had for 10 years....trust me)
Measuring tape (the flimsy sewing kind)
A long-sleeve t-shirt
A shirt that you already own that fits kinda perfect, but not too tight (not a baggy old t-shirt!)
Marker or pen
ALRIGHT! My shirt was a men's medium IZOD rockwashed long-sleeve t-shirt. This shirt was too big for me. It was given to me by a coworker (thank you FeFe!) and she only paid $3.95 for it at SteinMart. Can I get a OH YEAH?! I LOVE bargains. Anyways, I didn't know what to do with it until yesterday.
The sleeves are hanging off the sides of the table.
Woohoo for cheap stuff!
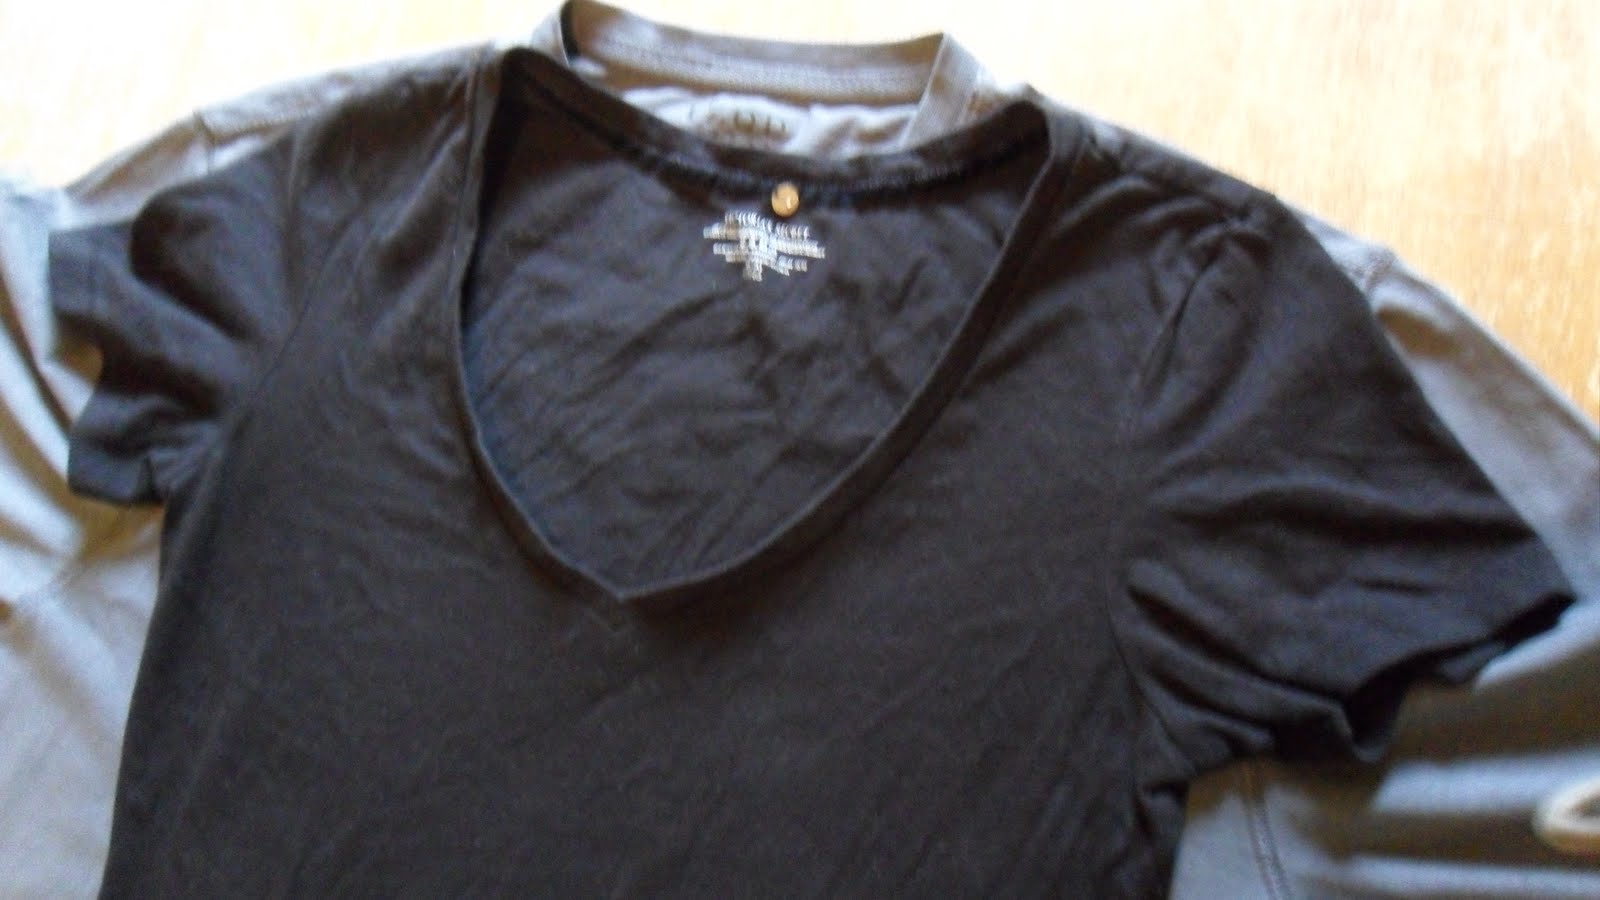
Okay, now lay your shirt you already have (I used my black Victoria's Secret v-neck shirt) on top of the long-sleeve shirt. Kinda try to match up the shoulders.
Note: I didn't account for how stretchy my VS shirt is, so my refashioned shirt came out a bit tight. So, if you are using a stretchy shirt like I did, make sure when you draw your outline around it you give yourself a bit more room!
Okay, now outline your shirt (make it sleeveless!). I stopped my outline under the armpits of my stretchy VS shirt, then drew the shapes for the armholes.
Now cut it out! (At this point, you can cut some length off the bottom to adjust how long you want your shirt to be, but I liked it just the way it was. Plus that meant the bottom was already finished for me! I'm LAZY!)
Okay, now just turn the shirt inside out. Line everything up nice and pin both sides to each other. Pin up the sides only, not the armholes. You won't have to worry about the armholes. All this pinning is just to make sure that when you are sewing nothing shifts. Because then it will look retarded if it does.
Now, sew up both sides, making sure to backstitch at the beginning and end. I used about 1/4" seam allowance, but whatever floats your boat.
Turn the shirt right side out, go try it on in front of a mirror. Now, place a dot (while you still have the shirt on) where you want your v-neck to end (keep cleavage in mind: a lot or a little?). Now that you have your dot, take the shirt off and go back to the table and draw your v-neck. It doesn't have to look amazing! You will be adding ruffles soon, so it won't matter how straight it's cut!
Cut the v-neck out! It looks cute already!!! Yay! Get excited!
Now, remember those sleeves you cut off? Grab one. Cut it open. Lay it flat. Mine was around 24 inches long at the longest point in the middle. Remember that if you want really tight ruffles, you have to have a LONG strip of fabric, because you have to bunch it up more. So measure one side of your v-neck (from shoulder to the dot). Mine was around about 12 inches. Which is good, because you need at LEAST double that measurement to make your ruffle for one side. So mine magically came out perfect. But, if you don't think your strip will be long enough to make a pretty ruffle, just sew another strip to it and keep on keepin' on. No biggie.
Okay now cut a strip out of the middle. Mine was 1.5 inches wide. Feel free to make your ruffles larger if you want. My fabric kind of curls under everywhere, so it was a bit aggravating trying to do the ruffles.
Now do the same exact thing to that other sleeve!
You should have two strips of fabric (mine only look skinny because my fabric kept curling under!).
Now, using a basting stitch (the longest stitch on the sewing machine), sew right up the center of your strips. DO NOT BACKSTITCH! Also, leave the thread on the ends kinda long, so you can grab on to them easier!
It's time to make a ruffle! Grab the bobbin thread and pull. Then spread out the ruffles, and repeat until you get it just the way you like it. Make sure you don't bunch it up smaller than the length of your v-neck (12 inches, in my case).
They should look something like this! Aren't they just cute!!
Starting at the top of the neck/shoulder, pin your ruffle all the way down to the bottom of the v-neck on one side.
Pin the other side the same way.
Now, sew them to the shirt! Make sure you change your sewing machine back to a regular stitch (don't use the basting stitch again!)
Now you are all done!! I chose not to finish my armholes because of the fabric. It curls under naturally, so it looks just fine when I wear it.
So pretty! I love mine, and I hope you love yours too! Happy sewing!
Jamie Lynn Lynch